Photo Editing Effects – Artistic Benefit
Beginning With Photo Editing Effects
Leisure / Photography
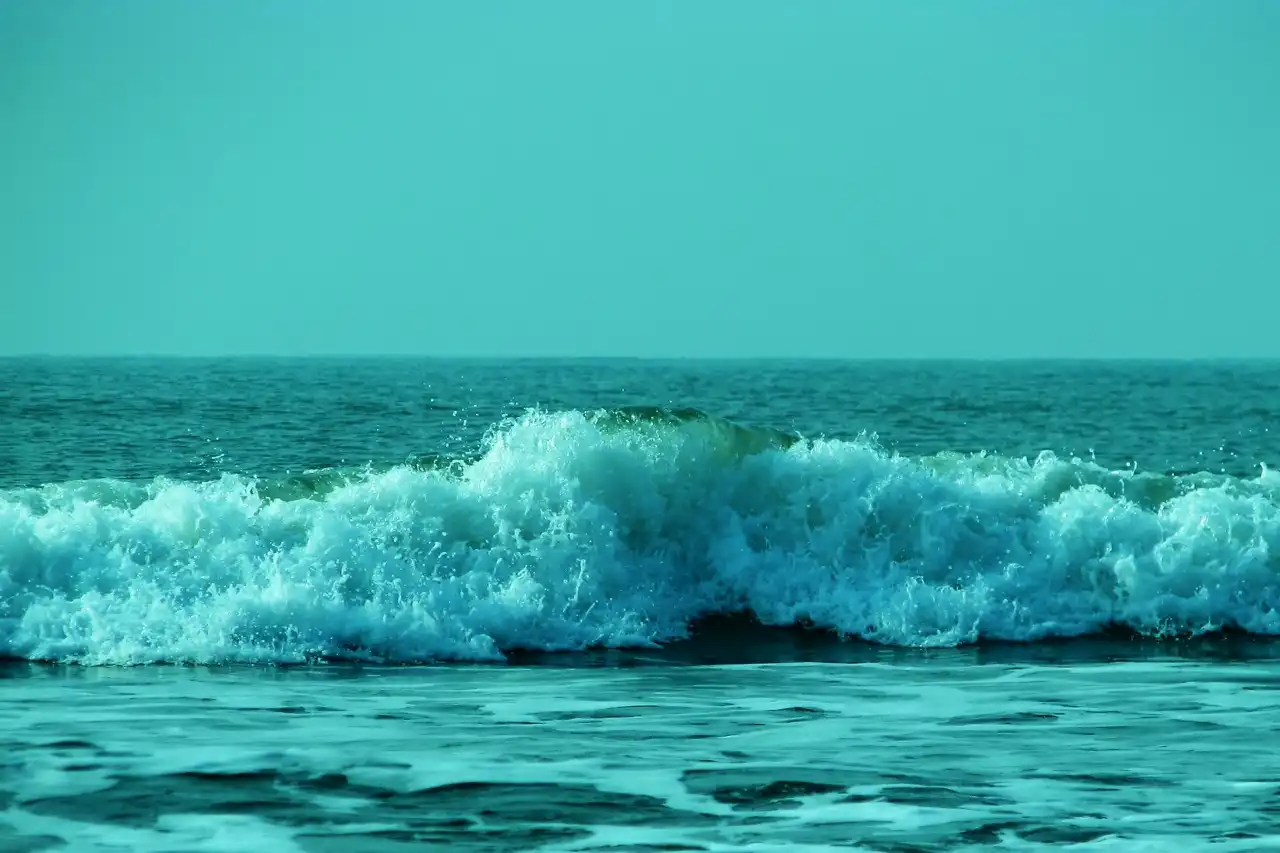
Editing digital images with software, such as Photoshop, is considered a part of a person’s artistic freedom, and you shouldn’t feel guilty at all about using image editing software. All magazines and online publications benefit from the use of Photoshop one way or another (or any other photo editing software). This type of software just works, so if you want to use it, go ahead and do it. You can even do free photo editing online on several photo editing websites such as Gimp or Pixlr. To get you started on photo editing effects, here are some neat tricks to try at home: (Image Credit: w a v e s (bluish green tint), { pranav }, flickr. Image License: Attribution 2.0 Generic (CC BY 2.0), Creative Commons.)
Neat Photo Edit Effect Tricks
Disclosure: Some of the links to products on this website are affiliate links. It simply means, at no additional cost to you, I'll earn a commission if you click through and buy any product. Read full disclosure here! Thank you for your support.
1. Tinting the Image – Change the color temperature of the image to make the subject look greener. The greening effect will make the colors appear cooler, and this will definitely create a vintage look that has a lot of impact on viewers.
Tweak the contrast of your image, and adjust the slider that controls the overall tint. In general, image editors allow users to change the tint of images without having to work on specific areas of the image.
2. Stylizing Action – If you want to make an action photograph look more dynamic, you have to create duplicates of your original image and change the color channel so you will have a variety of color scales to work with. Predominantly green or blue tints are great for dynamic, stylized action photos. The blurring effect is achieved when the stylized image duplicates are placed side by side in a single layer.
3. B & W : Black and White – Vintage never really goes out of style, because people are constantly bombarded by color. A black and white photo is effective if you are trying to emphasize the action that your subject is performing. High contrast photos tend to underemphasize the background, so be sure to adjust the brightness and white balance so you will get the right balance of light and color in your final product.
4. Pre-Set Filters – Instagram and a variety of mobile photo editing tools use pre-set filters to change the color temperature and contrast level of photos. Don’t be afraid to use your iPhone or Android device to take photos!
Use the available tools so you will be able to express and create yourself even if you are away from your desktop PC or Mac. One important suggestion that I do want you to remember is to always shoot at the highest setting possible.
You can always remove pixels from an image, but you cannot really add pixels to it once an image has been shot. That’s why photographers like shooting in the RAW format, even if it does take up a lot of space in the memory card.
5. Sharpen Images – Digital sharpening through Photoshop and other similar software removes noise but also sacrifices some of the detail of your photos.
So, if you are going to sharpen your image, it is best to work on specific areas and not the whole image, so you can preserve dramatic areas of expression. At the outset, it might not seem much, but in terms of realism, too much sharpening can affect the realism and quality of your photos.
More INFO: Photography Trick, Trick Photo And Special Effects, Illusion Photography Ideas, Digital Photography Techniques, Funny Photo Effects << HERE!
Do you have any comments or questions? Leave them below.
Did you find this article informative? Share it in Social Media below.
Link to this article by using the following URL: https://uniqsource.com/leisure/photo-editing-effects/ COPY and PASTE!

