Trick Photography Techniques – Light And Time
Secrets Of The Pros: Trick Photography Techniques
Leisure / Photography
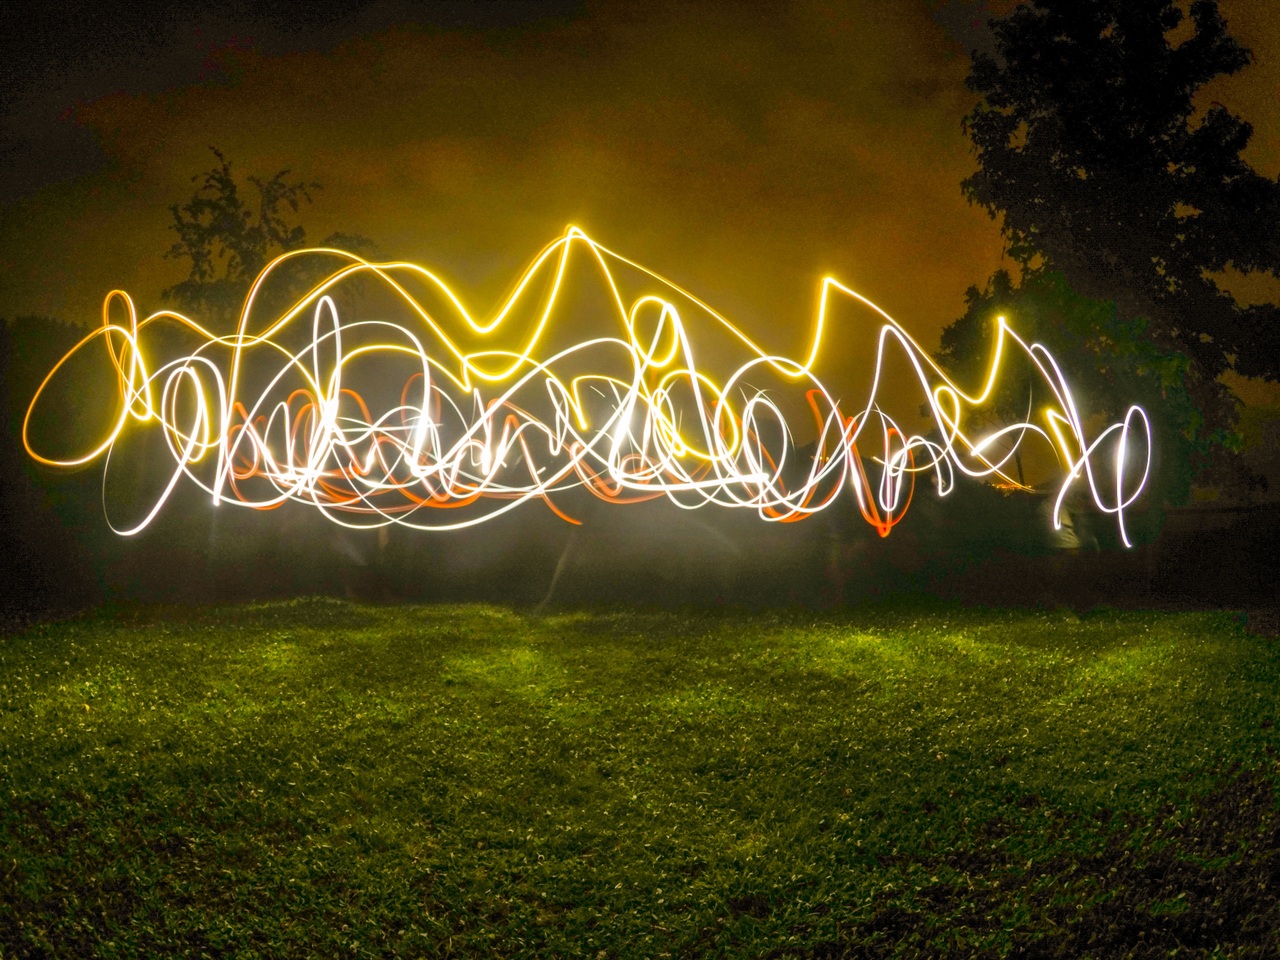
If you are a fan of light drawings and other forms of trick photography, and would like to try making your own trick photos, you are in for a treat. In today’s discussion we are going to explore how you can actually use light and long exposures to create great-looking images that are worthy of online hubs like Deviant Art. Image Credit/Image License: Light drawing photography, Light painting photography. CC0 Public Domain.
Disclosure: Some of the links to products on this website are affiliate links. It simply means, at no additional cost to you, I'll earn a commission if you click through and buy any product. Read full disclosure here! Thank you for your support.
We know for a fact that it is difficult to continue with any kind of art form without getting at least some amount of recognition. To ensure that people will pay attention to your work, we are going to reveal pro-level trick photography techniques and secrets that you will be able to use immediately to improve your craft.
Pro-Level Special Photography Techniques
1. If you are using a really bright source of light, such as a Maglite, select the highest setting and remove the cover of the Maglite. This will allow you to create clear light drawings. Light drawings don’t have to be “written” on air.
You can trace the outline of objects like chairs, tables, and even cars. The trick to stunning light outlines is drawing across the border of the object as quickly as you can. You may want to practice drawing the outline of the subject before starting the exposure.
If you do it correctly, you will see that the lines of light will follow the exact physical contours of your subject. Try drawing in pitch dark to create a luminous, almost neon effect.
Your creativity is your only limitation when you are creating light drawings. And when one shot isn’t that good – go shoot another one! Be patient with yourself and the creative process, and you will definitely be rewarded in the end.
2. If you want light to go around small objects, it might be helpful if you tied your light source to a piece of string. It might require some practice but you will definitely have more control over the movement of the light source.
3. Ever wondered how a smoke effect can be achieved with light? It’s quite easy – all you have to do is to position your subject in a blank background, adjust your ISO setting to the lowest possible setting, and use overhead lighting to illuminate your subject. Position your beam of light to a single point on the subject and begin drawing the smoke from that reference point.
It might take a few attempts to get it right, but this type of light drawing is easy to pull off even if you are using a stock lens. If you think the smoke outline is not as bright as you thought it would be, it might be possible that the LED light that you are using is not bright enough. Try switching light sources and see if your output improves.
4. Want to create pure light drawings? A pure light drawing is called a physiogram, and it can be achieved by placing your camera on the floor and using a long exposure time. You should be shooting in pitch black conditions, with only the flash light or LED as a source of illumination.
More INFO: Photography Tricks, Trick Photography & Special Effects, Trick Photography Idea, Photo Edit Effects, Cool Photo Effects << HERE!
Do you have any comments or questions? Leave them below.
Did you find this article informative? Share it in Social Media below.
Link to this article by using the following URL: https://uniqsource.com/leisure/trick-photography-techniques/ COPY and PASTE!

