Mountain Bike Repair – No Uphill Struggle
A Primer on How to Repair a Mountain Bike
Leisure / Biking / DIY
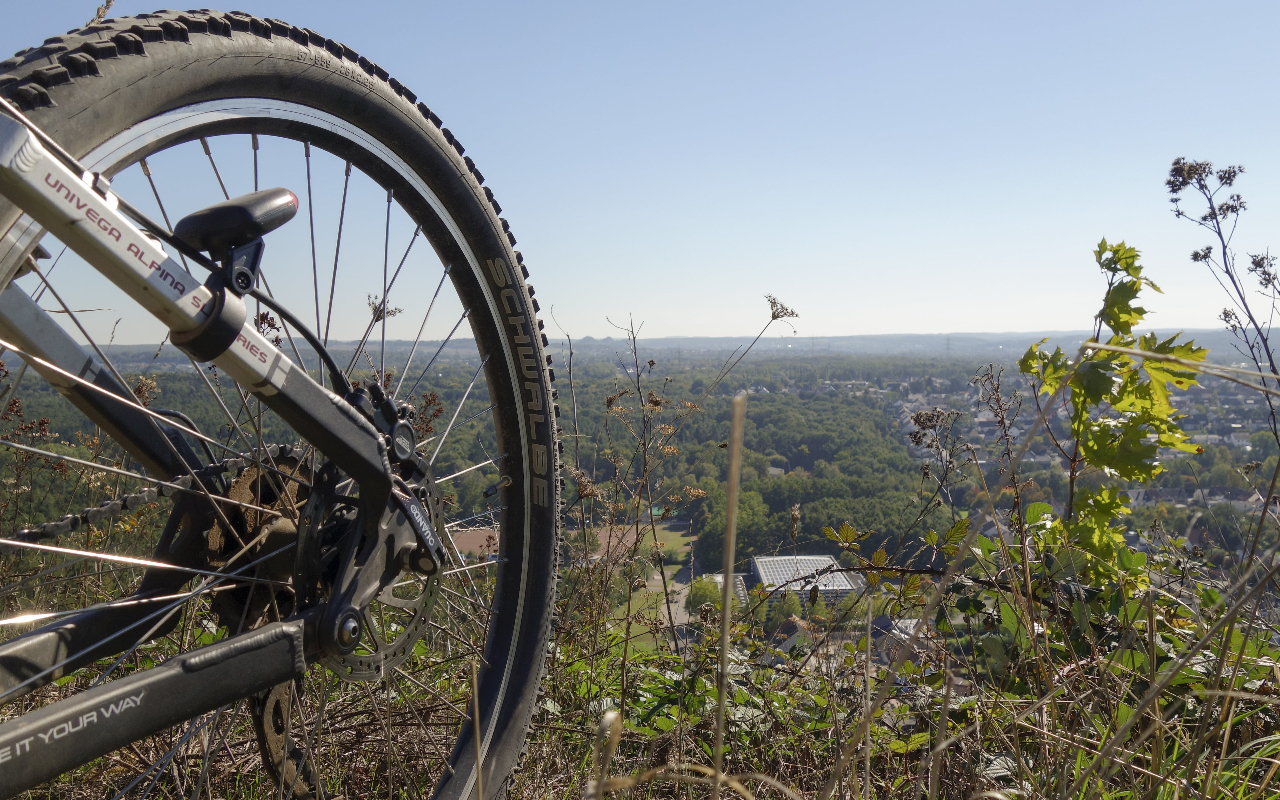
Are you tired of hiring people to take a look at your bike after it has been damaged by repeated use? If you are, you are probably wondering if it is at all possible to learn how to repair or fix a broken mountain bike. Image Credit/Image License: Mountain bike on a mountain. CC0 Public Domain.
Disclosure: Some of the links to products on this website are affiliate links. It simply means, at no additional cost to you, I'll earn a commission if you click through and buy any product. Read full disclosure here! Thank you for your support.
The good news is that everything that your local bike expert knows can also be studied and mastered fairly easily. All you need is a good push in the right direction, and you are all set. To get you started on your own odyssey of DIY bicycle maintenance, here are some top tips for mountain bike repair that you simply have to know:
Mountain Bike Repairs and Mountain Bike Maintenance
1. If you are really serious about setting up a bike repair area at home, buy a bike stand. Bike stands come in all shapes and sizes – choose one that fits your budget and the size of your bike. Obviously, heavy mountain bikes need a larger and sturdier model.
If you have a smaller BMX bike, for instance, you won’t have to buy a bike stand with thicker metal supports. Stick to stainless steel whenever you can. Some lighter bike stands are made from alloys made with aluminum, these are often less durable than stands made from stainless steel or titanium.
2. Whenever you have to remove parts from your mountain bike, lay down the parts on a clean section of the floor, and in the order that you removed them. Even seasoned cyclists are careful when removing the smaller components of bikes so they do not end up losing anything in the hubbub.
3. Machine oil is the universal lubricant for all kinds of bikes. You can even wash cups and bolts in machine oil. In the absence of machine oil, you can use rubbing alcohol instead. When lubricating nuts, bolts, and joints, use a squirt bottle with a narrow outlet so you can control how much machine oil is leaving the bottle. This way, you will not accidentally flood a mechanism with too much oil.
4. WD40 should never be applied last to any part that needs to be lubricated in order to function well. WD40 was designed to remove contaminants on metal surfaces. It can remove lubricants easily. If you need to spray WD40 on some joints and hinges, wipe down those areas clean, and re-apply lubrication before riding your bike again. Never ride a newly cleaned bike without applying machine oil!
5. You do not have to remove the derailleurs when changing rims or tires. Derailleurs are attached to the frame of the bike, not to the rims or spokes. Check if your wheels have a quick release mechanism. If not, loosen the nuts from both side and use a plastic mallet to gently dislodge the rims from the chain drive. A few short taps should do it.
6. If you want to replace your tires, remove the air (at least 50% of the total air) before attempting to remove the rubber. Trust me, this will help reduce the work time greatly, because the rubber is loose and easier to maneuver around the chain drive.
More INFO:
Bike Repair Information
Dirt Bike Repairs
Dirt Bike Parts Breakdown
BMX Bike Parts List
Bicycle Stand
Do you have comments or questions? Please leave them below.
Did you find this article containing good information? Share it on Social Media below.
Link to this article by using the following URL: https://uniqsource.com/leisure/mountain-bike-repair/ COPY + PASTE

